Audit Controlled Folder Access Before Enabling It on Windows 11
See which everyday apps might be affected before turning on Microsoft Defender’s Controlled Folder Access.
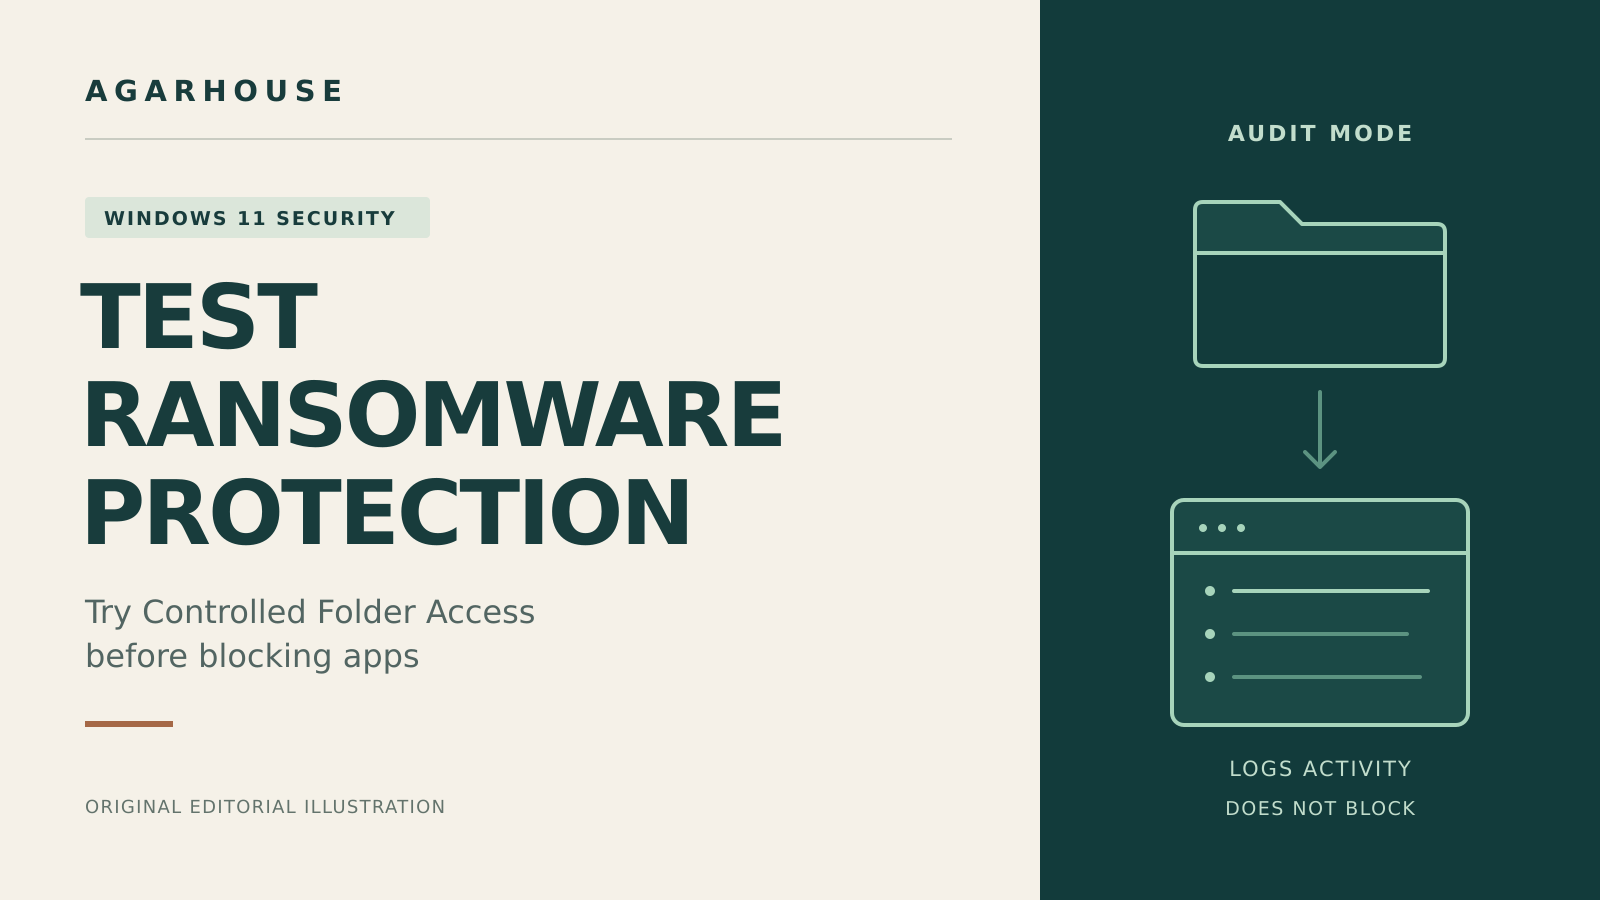
A ransomware safeguard is easier to keep switched on when it does not interrupt the work you bought the computer to do. Microsoft Defender's Controlled Folder Access can restrict changes to important files, but unfamiliar legitimate software can need attention too. A photo export, an older accounting program, or a backup job is a better thing to investigate before a deadline.
This walkthrough uses audit mode to observe your normal Windows 11 workload before you decide whether to enable blocking. You will save the current setting, review the relevant events, and finish by choosing a deliberate protection state. Allow about 15 minutes for setup, then enough everyday use to cover your important applications.
Important: Audit mode records activity without stopping it. It is not ransomware protection by itself. Keep your normal antivirus protection and backups in place, and use disposable copies for testing. If Controlled Folder Access already blocks activity, leave that protection on rather than weakening it for this exercise.
Before you start
- Use a Windows 11 PC you administer. On a work or school device, ask IT to handle the trial through the organization's management tools.
- Microsoft Defender Antivirus must be the active primary antivirus, with real-time protection on. Passive mode and occasional Defender scans alongside another antivirus are not sufficient for CFA.
- Install current Windows and Defender updates. Make sure you have a usable backup of important files.
- Choose a quiet time. Do not combine this trial with an antivirus migration or a batch of unrelated security changes.
The local feature is available on Windows 11 Home as well as other editions that include Defender Antivirus. You do not need the enterprise Defender portal for the Event Viewer method below. Microsoft documents the CFA requirements and supported Windows editions.
1. Read your current protection state
Open Start, search for Windows PowerShell, and choose Run as administrator. Approve the Windows prompt only on the PC you intend to configure. Use the same Windows account for the setup and recovery steps.
Get-MpComputerStatus |
    Select-Object AMRunningMode, AntivirusEnabled, RealTimeProtectionEnabled

Get-MpPreference |
    Select-Object EnableControlledFolderAccess
For this walkthrough, proceed only when AMRunningMode is Normal and both protection values are True. If the result differs or a property is missing, stop and check your antivirus provider. Do not uninstall another antivirus or switch off security controls just to make the tutorial work. See Microsoft's guidance on Defender operating modes and Get-MpComputerStatus reference.
Read EnableControlledFolderAccess as follows:
- 0, Disabled: you can start an audit trial.
- 1, Enabled: blocking is already on. Skip the configuration and rollback steps; you can still use Step 4 to review events.
- 2, AuditMode: auditing is already on. You can record that starting state and continue observing.
- 3 or 4: a disk-only mode is configured. Leave it unchanged and review that setup separately. This walkthrough deliberately does not replace it.
A blank or unexpected value is also a reason to stop. Do not interpret it as Disabled. These mode values and the commands below follow Microsoft's PowerShell configuration instructions.
2. Save the starting setting and begin auditing
The following block saves a small recovery record in your account's local application-data folder before changing the mode. It refuses to overwrite an existing record or replace modes 1, 3, or 4. It changes only the CFA mode, not your protected-folder list, allowed applications, or antivirus exclusions.
Paste the whole block, including the opening & { and final brace. If it reports an error, stop rather than running the remaining commands separately.
& {
    $status = Get-MpComputerStatus -ErrorAction Stop
    if ($status.AMRunningMode -ne 'Normal' -or
        $status.AntivirusEnabled -ne $true -or
        $status.RealTimeProtectionEnabled -ne $true) {
        throw 'Defender prerequisites are not met. No CFA setting changed.'
    }

    $preference = Get-MpPreference -ErrorAction Stop
    if ($null -eq $preference.EnableControlledFolderAccess) {
        throw 'CFA mode was not returned. No CFA setting changed.'
    }
    $before = [int]$preference.EnableControlledFolderAccess
    if ($before -notin @(0, 2)) {
        throw "Current CFA mode is $before. Leave it unchanged."
    }

    $stateFile = Join-Path $env:LOCALAPPDATA 'Agarhouse-CFA-before.clixml'
    if (Test-Path -LiteralPath $stateFile) {
        throw "An earlier recovery record exists: $stateFile. Review it first."
    }

    [pscustomobject]@{
        ComputerName = $env:COMPUTERNAME
        OriginalMode = $before
        TrialStarted = Get-Date
    } | Export-Clixml -LiteralPath $stateFile -NoClobber -ErrorAction Stop

    Write-Output "Recovery record: $stateFile"
    Write-Output "Original CFA mode: $before"
    Set-MpPreference -EnableControlledFolderAccess AuditMode -ErrorAction Stop
    $after = (Get-MpPreference -ErrorAction Stop).EnableControlledFolderAccess
    if ($after -ne 2) {
        throw "Audit mode was not confirmed. Current value: $after. Stop here."
    }
    Write-Output 'Confirmed: CFA is in AuditMode (2).'
}
Expected result: a recovery-file location, the original mode, and confirmation of mode 2. Keep the file until you have finished the trial. It contains the computer name, original mode, and start time, not a complete Defender backup. The save-and-load method uses Microsoft's documented Export-Clixml and Import-Clixml commands.
Do not use the Windows Security On/Off switch to select audit mode. That interface offers blocking or Disabled, not AuditMode. Use the PowerShell value to check the mode during this trial.
3. Exercise the work you actually do
Make a short checklist before you start: edit and save a document, export a picture, create a PDF, and run a normal backup if that is part of your routine. Use the applications and destinations you normally rely on. Reopen each test output to check that it was written correctly.
Pay attention to where the files live. Documents and Pictures are examples of default protected locations, but do not assume every folder on every drive is covered. A successful export to an unrelated scratch folder says little about an export to a protected destination.
While CFA is auditing, inspect the default and additional folder lists without changing them:
$cfa = Get-MpPreference
$cfa.ControlledFolderAccessDefaultProtectedFolders
$cfa.ControlledFolderAccessProtectedFolders
The second list concerns additional configured folders, so an empty result there is not proof that nothing is covered. If your expected destination is missing or the default list is unavailable on your installation, consult the default-folder guidance before drawing conclusions. Leave folder additions for a separate, deliberate change.
Work through a representative day or two if practical, including less frequent tasks that matter to you. That is a suggested observation window, not a Microsoft certification period. Do not download malware or run a ransomware simulator on a machine with real data to manufacture an event.
4. Inspect audit events
Open Event Viewer from Start. Expand Applications and Services Logs > Microsoft > Windows > Windows Defender > Operational. Choose Filter Current Log, set the time range to cover your trial, and enter these event IDs:
1123,1124,1127,1128,5007- 1124: an audited protected-folder operation.
- 1123: a blocked protected-folder operation.
- 1128 / 1127: audited / blocked disk-sector writes.
- 5007: a Defender configuration change. Read its details; it is not automatically a CFA event or proof that blocking works.
These mappings come from Microsoft's CFA monitoring reference. Open each relevant event and read its General and Details views. Record the time, application path, affected file or folder, and the task you were performing.
For a quick PowerShell review of the last two days, use:
Get-WinEvent -FilterHashtable @{
    LogName = 'Microsoft-Windows-Windows Defender/Operational'
    Id = 1123, 1124, 1127, 1128, 5007
    StartTime = (Get-Date).AddDays(-2)
} | Select-Object TimeCreated, Id, Message | Format-List
Adjust the two-day window if needed. This uses Get-WinEvent's documented time and event filters. A “no events were found” result means no matching records were found in that window. Access-denied or log-not-found errors mean the query failed and need investigation.
How to interpret the result: an audit event is a reason to investigate a possible compatibility problem, not proof that the application is malware. No events do not prove that every application will work under blocking. The app may already be trusted, the destination may not be covered, or the particular operation may not have been exercised.
If an unfamiliar executable appears, investigate it before enabling access. For a familiar application, verify the full installation path, check its publisher, update it from its official source, and repeat the task. Do not allow an unknown program just to clear the log. If a legitimate app needs a CFA exception, use Microsoft's application configuration guidance and choose the narrowest appropriate application path. Avoid blanket allowances for script hosts or command shells. This trial does not add any exceptions.
5. Choose whether to enable blocking
Enable blocking when you have exercised your important workflows, understood the relevant events, and have time to repeat the checks immediately. If a necessary application still needs investigation, continue the audit for a defined period or restore the original mode in Step 6. Do not leave the trial running indefinitely under the impression that it is blocking ransomware.
To move from the confirmed audit trial to blocking, run this full block in the administrator PowerShell window:
& {
    $status = Get-MpComputerStatus -ErrorAction Stop
    if ($status.AMRunningMode -ne 'Normal' -or
        $status.AntivirusEnabled -ne $true -or
        $status.RealTimeProtectionEnabled -ne $true) {
        throw 'Defender prerequisites are not met. No CFA setting changed.'
    }
    $current = (Get-MpPreference -ErrorAction Stop).EnableControlledFolderAccess
    if ($current -ne 2) {
        throw 'CFA is no longer in AuditMode. Review the current state first.'
    }
    Set-MpPreference -EnableControlledFolderAccess Enabled -ErrorAction Stop
    $after = (Get-MpPreference -ErrorAction Stop).EnableControlledFolderAccess
    if ($after -ne 1) {
        throw "Blocking was not confirmed. Current value: $after. Stop here."
    }
    Write-Output 'Confirmed: CFA is Enabled (1).'
}
Expected result: 1. Repeat your test checklist using copies, then look for new 1123 events. Note the time you enabled blocking so you can distinguish new results from earlier records. Keep the recovery record available until you are satisfied with the setup.
If a save fails, preserve the unsaved work before closing anything. Check whether a matching CFA block occurred at that time. A file-permission problem, full disk, or application error can also prevent saving.
6. Restore your original mode if you end the trial
Use this only to undo your own trial on the same PC and account. If another administrator or management policy changed protection after you started, stop and coordinate with them. The recovery record is not permission to reverse a later security decision.
The block below shows the current and saved modes, then asks you to type RESTORE. Restoring 0 turns CFA off; restoring 2 returns to audit mode. Either removes CFA blocking if you enabled it in Step 5. It does not turn off Defender Antivirus. A PC that started this tutorial with CFA already Enabled should never use this rollback.
& {
    $stateFile = Join-Path $env:LOCALAPPDATA 'Agarhouse-CFA-before.clixml'
    $saved = Import-Clixml -LiteralPath $stateFile -ErrorAction Stop
    if ($saved.ComputerName -ne $env:COMPUTERNAME -or
        $null -eq $saved.OriginalMode -or
        $saved.OriginalMode -notin @(0, 2)) {
        throw 'The recovery record does not match this trial. Nothing changed.'
    }

    $current = (Get-MpPreference -ErrorAction Stop).EnableControlledFolderAccess
    if ($null -eq $current -or $current -notin @(0, 1, 2)) {
        throw 'Unexpected current mode. Review it before changing anything.'
    }

    $saved | Format-List ComputerName, OriginalMode, TrialStarted
    Write-Output "Current CFA mode: $current"
    $answer = Read-Host 'To end YOUR trial and restore the saved mode, type RESTORE'
    if ($answer -cne 'RESTORE') {
        Write-Output 'Cancelled. No setting changed.'
        return
    }

    Set-MpPreference -EnableControlledFolderAccess ([int]$saved.OriginalMode) -ErrorAction Stop
    $after = (Get-MpPreference -ErrorAction Stop).EnableControlledFolderAccess
    if ($after -ne $saved.OriginalMode) {
        throw "Restoration was not confirmed. Current value: $after."
    }
    Write-Output "Confirmed: restored CFA mode $after."
}
Once you have verified your final choice, archive the recovery file somewhere you can identify it as belonging to this completed trial. Do not reuse an old record for a later experiment. If you changed folder lists or app permissions separately, this mode-only rollback does not undo those changes.
If something does not match the guide
- A command is denied or the mode changes back: confirm that PowerShell is elevated and that this is a PC you administer. Stop if an organization controls it. Do not disable Tamper Protection, edit policy registry keys, or bypass management to force the change.
- The recovery file already exists: inspect its date and original mode with
Import-Clixml. Finish or account for that earlier trial before archiving it. Do not overwrite your only record of the starting setting. - Audit mode is confirmed but an app cannot save: audit itself should not block that operation. Check the event time, current mode, other security tools, and ordinary file permissions.
- No audit events appear: recheck mode 2, Defender's active status, the log filter, the time window, and the actual destination. Do not weaken other controls or deliberately run suspicious software to produce evidence.
The useful end result is a known configuration and a tested set of everyday workflows. Keep blocking enabled if it fits your applications, or make a clear decision to investigate further. Either way, retain your backups and revisit compatibility after significant application changes.
Sources and verification
This is a documentation-based walkthrough checked against Microsoft's references on November 6, 2026. The commands were reviewed against those references; they were not executed on a live Windows 11 machine for this article. Interface wording and available properties can vary with Windows and Defender updates.
- Microsoft Learn: Controlled Folder Access overview covers prerequisites, operating modes, folder coverage, and application trust.
- Microsoft Learn: Configure Controlled Folder Access documents the supported configuration methods and mode values.
- Microsoft Learn: Monitor Controlled Folder Access explains audit-first evaluation and the Windows event IDs.
- Microsoft Learn: Get-MpPreference and Set-MpPreference describe reading and changing Defender preferences.

Comments ()