Encrypt a File with GnuPG and Verify You Can Open It Again
Make a passphrase-protected copy of a file on Linux, then prove you can recover the original bytes before relying on it as a backup.
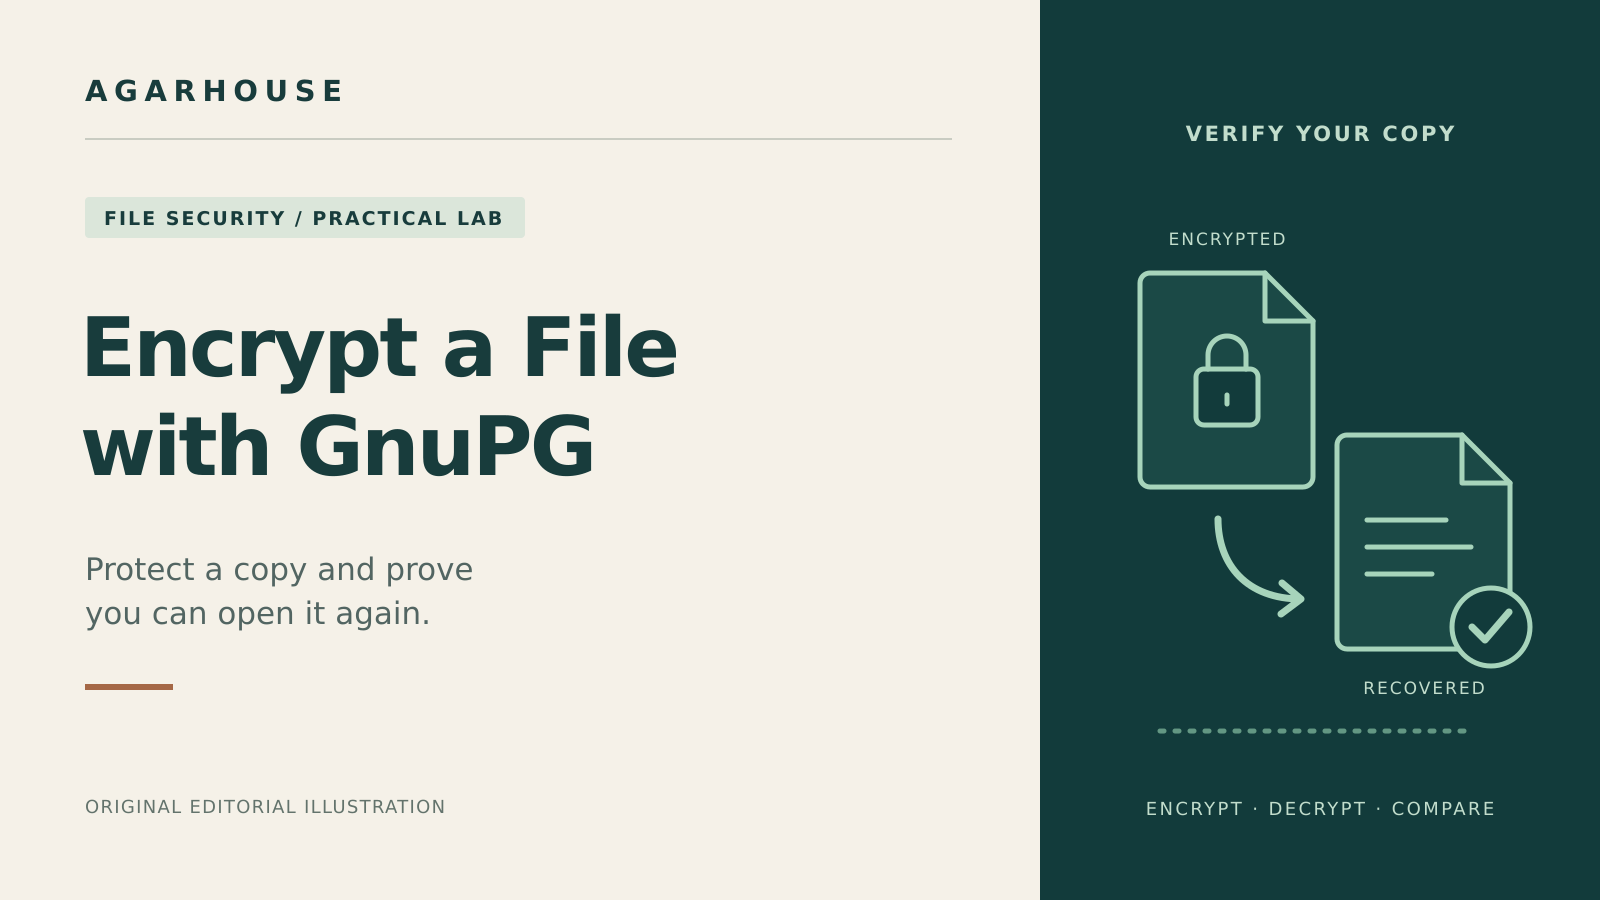
Before you put an encrypted file on a backup drive, try opening it again. The new .gpg file tells you that GnuPG wrote something. A test restore tells you whether you can get the original bytes back with the passphrase you plan to keep.
We’ll practice with one harmless text file. You’ll make an encrypted copy, decrypt it to a different name, and compare it with the original. This is symmetric encryption: the same passphrase locks and unlocks the file, so there’s no public or private key to create. That makes it useful for a copy you need to open later yourself.
Before you start
Use an interactive Linux terminal running Bash, with GnuPG 2.4 and a working Pinentry prompt. Pinentry is the dialog that asks for the passphrase, either in your terminal or in a separate window. Run gpg --version and command -v gpgconf to check that both commands are available. If either is missing, use your distribution’s supported GnuPG packages. Open a fresh terminal for the lab, run each block in order, and stop on an error.
The lab environment reported GnuPG 2.4.7, but it blocked the local connection to gpg-agent, so the full round trip could not be verified there. The encryption and decryption steps below follow the GnuPG manual. macOS and Windows are outside this walkthrough.
Pick a passphrase just for the exercise. For a real file, use a long, randomly generated passphrase and keep it in a password manager you can access during recovery. Type it only into Pinentry, not into a command, script, or shell variable. There’s no password reset for this encrypted file.
1. Make a practice file in a private folder
umask 077
lab=$(mktemp -d /tmp/agar-gpg.XXXXXXXX) || exit
printf 'Practice folder: %s\n' "$lab"
cd "$lab" || exit
mkdir -m 700 gnupg || exit
gpg_home="$lab/gnupg"
GPG_TTY=$(tty) || exit
export GPG_TTY
printf '%s\n' 'This is a throwaway encryption test.' > sample.txt
Keep the printed path for cleanup. The temporary folder keeps all three test files away from your usual folders, and the separate GnuPG home keeps the lab from using your normal keyring or GnuPG settings. The terminal setting helps GnuPG find the right place to prompt. Don’t use real data here.
2. Make the encrypted copy
gpg --homedir "$gpg_home" --no-symkey-cache \
    --output sample.txt.gpg --symmetric sample.txt &&
    ls -l -- sample.txt sample.txt.gpg
Enter your practice passphrase when asked and confirm it if prompted. GnuPG may print a message about creating a keybox in the temporary home. You haven’t made a personal key: GnuPG is setting up that directory for its own use.
You should now have both sample.txt and a nonempty sample.txt.gpg. The original is still readable. That’s deliberate: --output gives the encrypted copy its own name. Creating it doesn’t encrypt the original in place or remove other copies.
3. Restore to a different filename and check the bytes
The switch --no-symkey-cache tells GnuPG not to reuse its cache for symmetric passphrases. Use it here too so the test asks for the passphrase rather than relying on what GnuPG may remember. Decrypt to restored.txt, not over your original. If that filename already exists, choose a new one and use it in the comparison as well:
gpg --homedir "$gpg_home" --no-symkey-cache \
    --output restored.txt --decrypt sample.txt.gpg
Once GnuPG finishes without an error, compare the two plaintext files:
cmp -- sample.txt restored.txt && printf '%s\n' 'Restore verified: the files match byte for byte.'If you see Restore verified: the files match byte for byte., GnuPG recovered the exact contents of the sample. Looking at the first line of a restored file is less useful: it might tell you that the file opens, but not that the rest came back intact. If cmp finds a difference or can’t open a file, don’t treat the restore as verified.
If something goes wrong
- No prompt or an error about the terminal: run from a real interactive terminal, confirm that
ttyprints a device path, and runexport GPG_TTY=$(tty)again in that window. If Pinentry is missing or broken, fix it through your distribution’s packages rather than putting a passphrase on the command line. - The passphrase is rejected: check your keyboard layout and what you recorded, then retry to a fresh output filename. An output file left after a failed command is not a successful restore. Do not use it unless a new decrypt and comparison succeed.
- GnuPG asks to overwrite a file: decline. Start with a new practice folder or choose a new output filename. Never point the decrypt command at your original.
Clean up the practice folder
In the same terminal, leave the directory and stop only the GnuPG agent for this practice home. The check skips the shutdown if that temporary home is missing:
cd ~
if [[ "${gpg_home:-}" == /tmp/agar-gpg.????????/gnupg && -d "$gpg_home" ]]; then
    gpgconf --homedir "$gpg_home" --kill gpg-agent
fi
printf 'Practice folder: %s\n' "$lab"
If you don’t want to keep practicing, inspect the exact printed folder and remove only that lab folder using your file manager. Close the lab terminal to leave its settings behind. Normal deletion is not secure erasure.
Before using this for a real backup
What you copy is what you protect: move or upload the encrypted copy, not the file you started with or the one you restored. A real original or restored file is plaintext while it exists. Sync history, old backups, editor autosaves, or a shared folder can still hold readable copies. Keep the output and test restore in appropriate locations, and don’t replace or delete any original until you’ve confirmed the encrypted copy opens and your recovery passphrase is safely stored. For a backup that matters, run the check again against the actual copy on the backup drive.
Comments ()